CARBONTRAIL12 - Adventure Cook Set
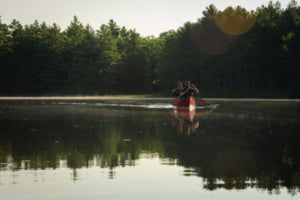
REAL COOKING - ANYWHERE!
KIT INCLUDES:
30cm/12in 18 Gauge Carbon Steel Wok & Pan, Stainless Steel Lid, 2 x Rigid Removable Handles, durable Cordura Storage Bag
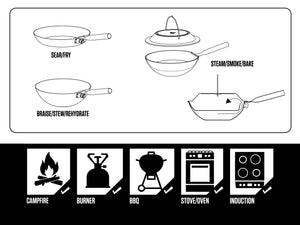
VERSATILE - SEAR, FRY, STEW, STEAM, SMOKE! - gas, induction & campfire ready.
COMPACT STORAGE, PERFECT WEIGHT - 4.8 lbs - packs down to the size of the wok - 30cm/12in x 10cm/4in
HIGH PERFORMING & SAFE - Naturally non-stick, no toxic coatings

CARBONTRAIL12
The Carbon Trail 12 Adventure Cookset is designed for backcountry adventurers who love cooking over an open fire without being limited by conventional cookware. This modular, mid-weight cook set provides versatile cooking options. Fry eggs for breakfast, rehydrate and serve chili for a group, smoke freshly caught trout with a side of steamed vegetables, or even bake bread or bannock with ease.
We chose carbon steel for its outstanding properties: even heat distribution, durability, and natural non-stick qualities, all without the use of toxic coatings. Combining the best qualities of cast iron (without the weight), and the packability of camp cookware. The wok, pan, lid, & rigid removable handles pack neatly into a durable Cordura sheath, featuring pockets for cooking accessories and extra space for plates and utensils.

Compact Storage, Perfect Weight

Raw Carbon Steel
Traditional. Tunable. Built to become yours.
Raw Carbon Steel
Starts as bare carbon steel and develops its own natural non-stick surface through seasoning and use. The more you cook, the better it performs.
- Builds a rich, natural patina over time
- Highly responsive to seasoning and care
- Easy to refinish if scratched or abused
- Ideal for those who enjoy the ritual of maintaining their gear
Best for: purists who want full control and don’t mind a little upkeep.

Nitrided Carbon Steel
Hardened. Low-maintenance. Adventure-ready.
Nitrided Carbon Steel
Heat-treated at the molecular level to create a tougher, more corrosion-resistant surface—without coatings. Delivers many of the benefits of seasoned steel, right out of the box.
- Increased rust resistance and surface hardness
- Requires less seasoning and maintenance (still recommended)
- More forgiving in wet or variable conditions
- Retains carbon steel performance with added durability
Best for: users who want performance with less maintenance, especially in demanding environments.
Cooking Configurations
Sear, fry, stew, rehydrate, steam, smoke & bake.
Backcountry, campsite, cabin, RV, or even at home. Built for the outdoors but so good, you’ll want to use it everywhere.
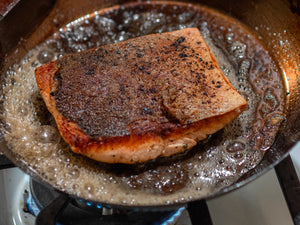
SEAR!
A favourite in professional kitchens all over the world, carbon steel pans are easy to use, easy to clean, and offer incredible consistency. The beauty of carbon steel cookware is that it can be naturally seasoned - creating a non-stick surface - and the more you use it, the more seasoned it becomes and the better it performs.
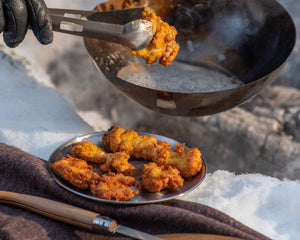
FRY!
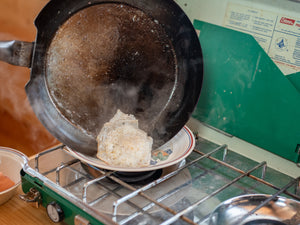
Fry on any heat source. The wok nestles and balances, even on rough coals. Move it around to find the perfect temperature.
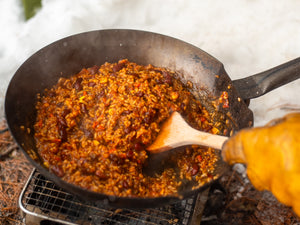
STEW & REHYDRATE!
Low & slow or a quick boil & rehydrate. Make big dinners for the hungriest of companions.
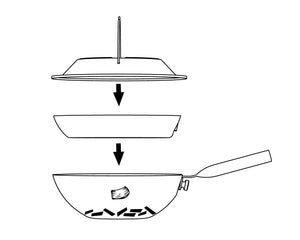
BAKE!
Insert frying pan without it's handle into the wok. The air gap keeps the bottom of your food from burning, giving it enough time to bake. The gap between the pan & the wok allow for hot air circulation.
Place hot coals on top of the lid to brown your food. The ridges around the edge of the lid will help hold the coals in place.
Remove the coals and... Chef's kiss!
Try: Pizza, bread, bannock, cinnamon buns, cookies, or even cake.
STEAM!
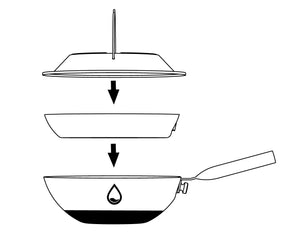
Add water to the wok.
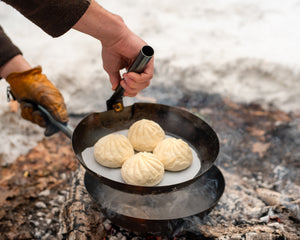
Insert frying pan without it's handle into the wok. Cover with the lid. Place over heat source.
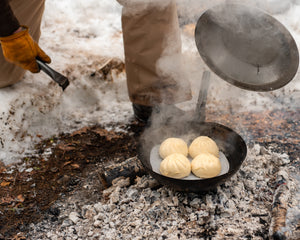
Reveal.
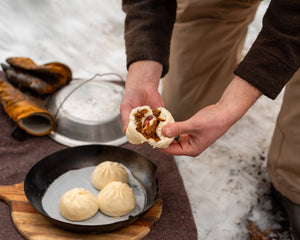
Boom, steamed it!
Try: Dumplings, fish, frittata, buns, vegetables.
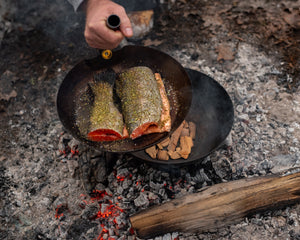
SMOKE!
Add woods chips or pellets to the wok.
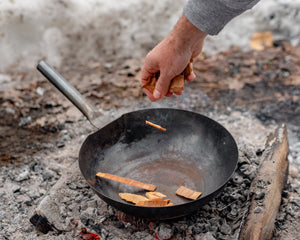
Alderwood, Applewood? Yes please!
Insert frying pan without it's handle into the wok. Cover with the lid. Place over heat source.
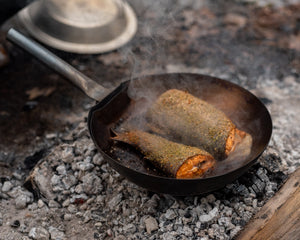
Boom, smoked it!
Try: Fish, chicken, sausage, fruits & nuts.

Cook Without Limits...


How to season your CARBONTRAIL12 Wok & Pan
STEP 1
Wash thoroughly with soap and water. Apply a thin layer of neutral oil (canola, grapeseed) all over the Kit including the wok, pan & handles (not the lid). Pan should look dry, not greasy.
STEP 2
Stovetop: Heat on high until it smokes, then cool. Repeat 2-3 times.
Oven: Bake at 400°F (205°C) for 1 hour, then cool. Repeat 2-3 times to increase protection and no stick properties
CLEANING & MAINTENANCE
Clean with hot water (no soap!). Dry well and apply a light coat of oil. Sear a steak, or fry/scramble eggs - enjoy a not stick surface that gets better with age!
How to Season Your CT12 Cookset video!


What's in the Kit?
Got hungry campers? Make big meals with the large size wok & pan that packs up small enough to go anywhere you and your crew want to go.
- 18 gauge carbon steel pans for low weight & even heat distribution: non-stick and non-toxic.
- Rigid & simple removeable handles that lock in place.
- Tall stainless steel lid that doubles as a tray for food prep.
- Durable cordura carrying case with space for cleaning supplies, utensils, and even plates.
How to Assemble
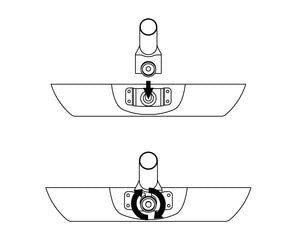
Insert & Tighten
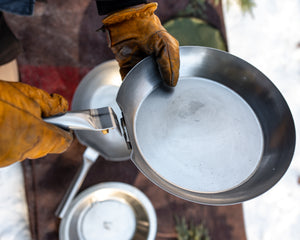
Push the flat end of the handle into the slotted bracket.
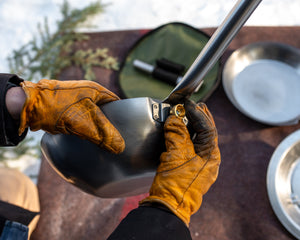
Once fully seated turn the thumb nut clockwise until tight.
That's all, folks!